Showing posts with label Food. Show all posts

Friday, June 3, 2011

Sour Cream Chicken Enchiladas Verde


Salsa Verde Sour Cream Enchiladas
Seen on The Novice Chef, originally from the Homesick Texan and then on Sing for Your Supper.

4 boneless chicken breasts , cooked and shredded (I used thighs marinated in THIS and then grilled.)
3 large cloves of garlic, minced
1 Jalapeno, seeded, minced
2 Tbsp butter
2 Tbsp all-purpose flour
2 cups chicken broth (I only had vegetable broth, worked great)
2 cups sour cream (I used reduced-fat and it was still insanely good)
16 oz jar Medium Salsa Verde
1 & 1/2 tsp cumin
1/4 tsp cayenne
1/2 tsp salt
1/4 tsp white pepper
1/2 tsp garlic powder
1/4 cup cilantro, chopped
12 flour tortillas, small fajita size (I used whole wheat)
1 cup shredded sharp cheddar
1 cup shredded Monterrey Jack (I only used cheddar)
1/2 medium onion, diced
*Optionally add rice and crisp tender cooked peppers.

Preheat the oven to 350. Melt butter over medium-high heat. Saute onions and Jalapenos until soft and then add the garlic, cooking for 1 minute. Stir in the flour and let cook 1-2 minutes. Whisk in the chicken broth until smooth and let cook until bubbly. Stir in the sour cream, salsa, cumin, cayenne, salt, pepper, garlic powder and cilantro until the sauce is smooth. Remove from heat.

Spray/grease a 9×13 baking dish. Add 1 cup of sauce to the bottom of the pan. Add chicken and cheese to the center of each tortilla and roll, placing seam-side down in the dish. Pour the sauce over the enchiladas, top with leftover cheese, and bake at 350 for 25 minutes or until top is brown and bubbling.
Yields: 12-15 enchiladas

In Pictures
Saute onions and jalapenos in butter then add garlic and finally flour.
 Slowly whisk in broth and let get bubbly.
 Add next ingredients (sorry about the pic)
 Mix until smooth then remove from heat.
 Load up your enchilada. I added cilantro rice and crisp tender peppers.
  Roll up all up and stuff them in.
 Pour as much of the sauce on that will fit. 
(Mine spilled over a bit and I had extra).
Bake 25 minutes until golden on top.
 I used poor enchilada retrieval technique but it tasted amazing.

Try these, you won't regret it. If you get time also check out the link at the top for Sing for Your Supper. Her pics are great.

Friday, May 20, 2011

Chocolate and Cheesecake Cupcakes

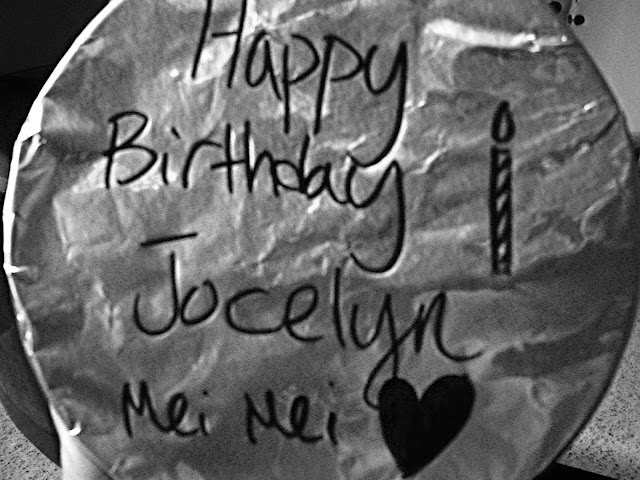
It was my sister's Birthday on Wednesday so I dropped by before work to give her this:

 
And what was in there? 
 Why, a chocolate cupcake with cheesecake in the middle.  

Black Bottom Cupcakes

I take no credit for these. This recipe copied directly from the

Cream Cheese Filling:
8 ounces (227 grams) cream cheese, room temperature
1/3 cup (65 grams) granulated white sugar
1 large egg
1/2 teaspoon pure vanilla extract
Chocolate Cupcakes:
1 1/2 cups (195 grams) all purpose flour
1 cup (200 grams) granulated white sugar
1/3 cup (30 grams) natural unsweetened cocoa powder (not Dutch processed)
1 teaspoon baking soda
1/4 teaspoon salt
1 cup (240 ml) water
1/3 cup (80 ml) vegetable,corn or canola oil (or other flavorless oil)
1 tablespoon white vinegar
1 teaspoon pure vanilla extract

Black Bottom Cupcakes: Preheat oven to 350 degrees F (177 degrees C) and line 12 muffin cups with paper liners.
Cream Cheese Filling: In your electric mixer, or with a hand mixer, beat the cream cheese until smooth. Add the sugar, egg, and vanilla extract and beat until creamy and smooth. Set aside while you make the Chocolate Cupcake batter.
Chocolate Cupcakes: In a large bowl sift together the flour, sugar, cocoa powder, baking soda, and salt. In a separate bowl mix the water, oil, vinegar, and vanilla extract. Make a well in the center of the dry ingredients and stir in the wet ingredients until nice and smooth. Evenly divide the batter among the 12 muffin cups. Then spoon a few tablespoons of the cream cheese filling into the center of each cupcake.
Bake in the preheated oven for about 25 minutes, or until the cream cheese filling has set and the cupcakes feel springy to the touch (a toothpick inserted into the chocolate part of the cupcake will come out clean). Remove from oven and place on a wire rack to cool. The cupcakes can be covered and stored in the refrigerator for about 3 - 4 days.
Makes 12 large cupcakes

In Pictures
Beat Cream cheese, Sift dry ingredients, mix wet ingredients and add to the dry. Mix well. Put everything in the cupcake liners and bake!

Voila!
  These were pretty good. I had some left over cheesecake batter so I put them in individual tins but added some PB2 and some mini chocolate chips too. The only cheesecake one were divine. I think next time I'll add more cheesecake to each cupcake and but the mini chocolate chips in too.


Friday, April 29, 2011

Healthy Chicken Parm with Asparagus


Healthy Chicken Parm with Asparagus

2 Large chicken breasts, cut in half to make each piece THINNER
1 jar marinara sauce
1 bunch asparagus, rinsed and bottoms snapped off
1 egg, lightly beaten
3/4 C panko bread crumbs
1/8 C Parmesan cheese plus some to sprinkle on top
garlic salt, garlic powder, ground pepper ground cayenne pepper, pepper flakes, onion powder
Mozzarella cheese or Italian cheese blend, shredded

1. Preheat oven to 350 degrees.
2. In a bowl, coat chicken pieces with a beaten egg. In a separate bowl combine panko bread crumbs, Parmesan cheese, and spices listed to taste (can't go wrong).  Pour bread crumb contents over the chicken covered in egg and make sure chicken is coated evenly.
3.. Add oil or butter to a medium sized pan on  med-high and, when hot, add the coated chicken pieces to sear each side. Do not cook all the way through.
4. In a 8x8 or 9x9ish sized baking dish pour in half of the marinara sauce then push the seared chicken into the sauce.
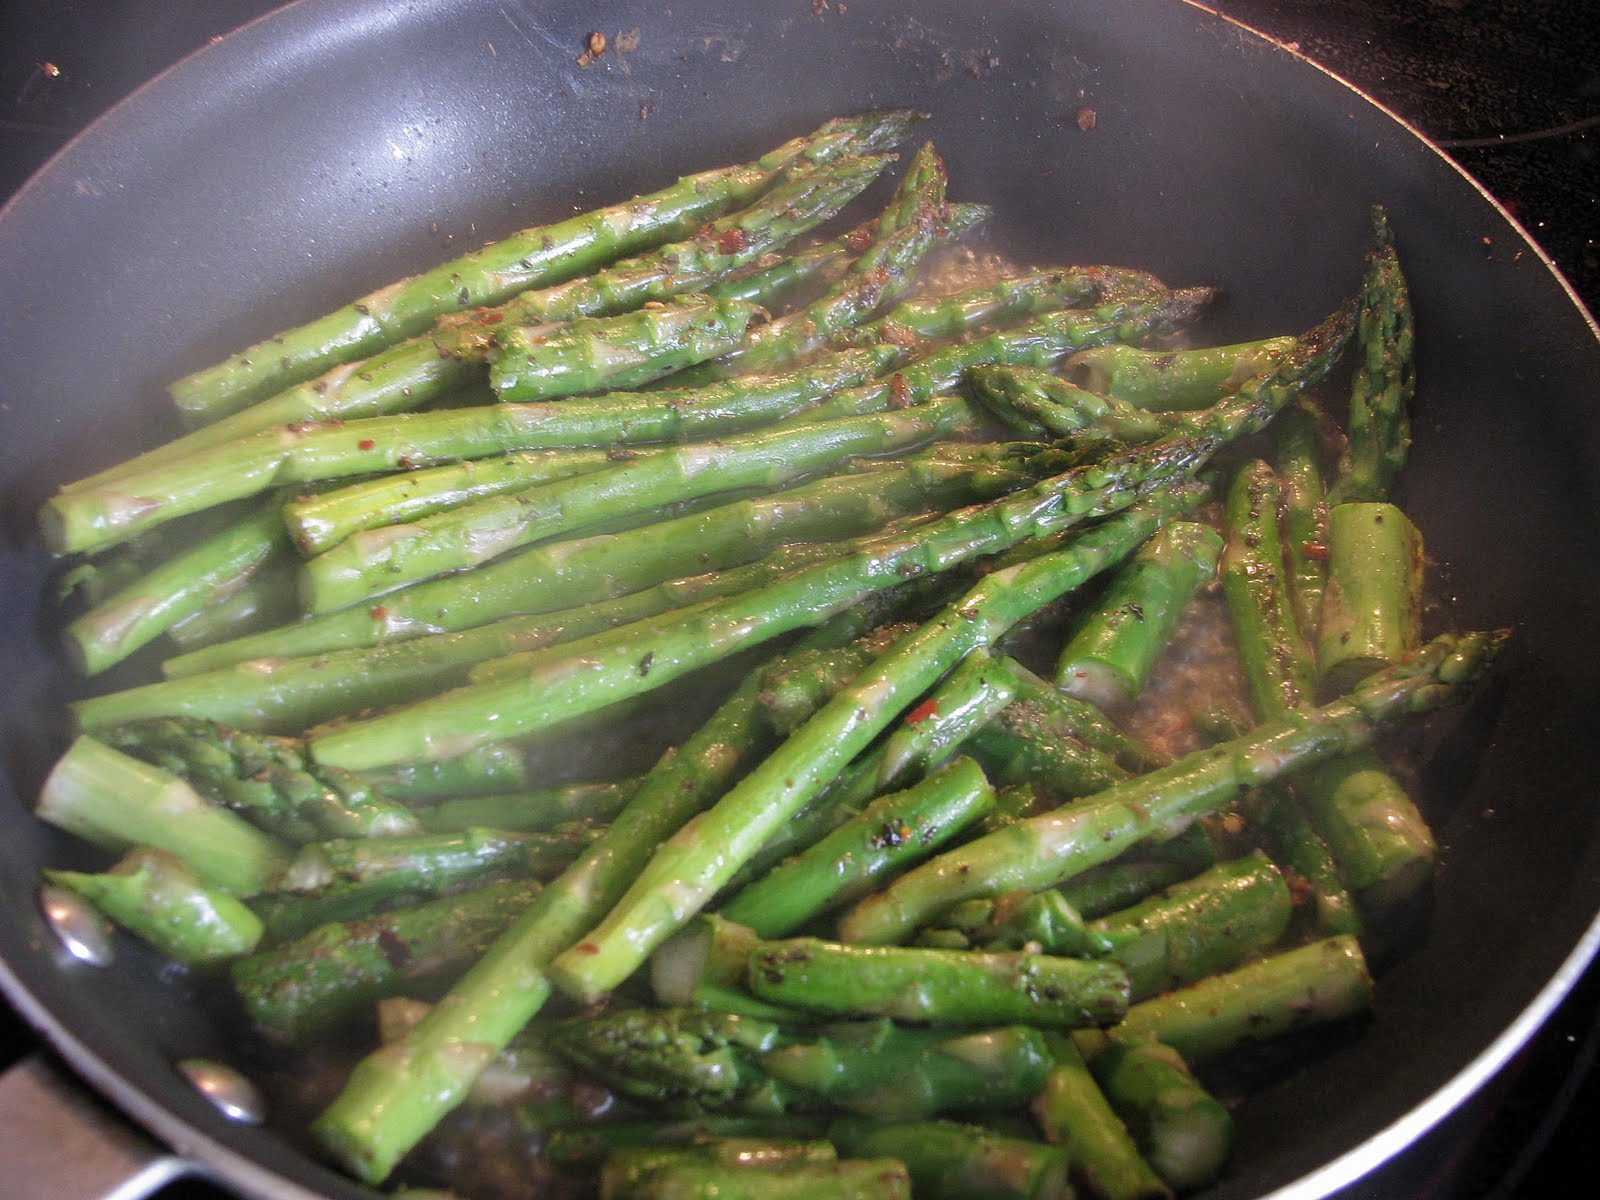
5. In same pan add a tablespoon more oil/butter and cook asparagus on medium until crisp tender. Optionally, half way through cooking asparagus, add a dash of white wine and let it cook out.
6. Add cooked asparagus to top of chicken then pour the rest of the marinara sauce over top and add as much mozzarella cheese as desired.
7. Bake for about 35 minutes. Cheese should be melted and chicken should be cooked all the way through to moist perfection.

In Pictures

 Coat the chicken in egg then Bread Crumb/Parmesan/spice mixture.
 
Sear each side without cooking the chicken all the way through.
 
 Push chicken into sauce.
 Cook asparagus until crisp tender.
  Asparagus on top.
Add cheese and bake approx 35 minutes.
EAT!

Kefir - Something New

Kefir "Grains"

What on earth is she making now? Kefir. Yeah okay...what on earth is KEFIR?!

Kefir is a pro-biotic drinkable yogurt type food made from milk and Kefir "grains".

A co-worker kept noticing that I was eating healthily and said that his wife eats this way also, and that she drinks Kefir.
    "Do you drink that stuff?" he asked me.
    "No" I replied, "I've heard of it but never tried it."
Next thing I know I was handed a Kefir starter and 5 pages of directions. Thanks co-worker's wife!
    Kefir is supposed to be really good for the digestive system and be able to cure lactose intolerance and help with allergies among other things. For more information you can link HERE.

The starter I received just looks like milk in a glass jar, although, I know the "grains" are in there as well. It's supposed to take 24-48 hours to make when left out at room temperature.

Start time: 2200 hours on 4/20/2011
End time: 2235 hours on 4/21/2011 and it looks like this:

 Mmm, yum right? Ha, your yogurt and cheese looked like this at one point too.

 You then pour the contents of the jar into a strainer over another container to strain everything but the Kefir "Grains".
The kefir can never come in contact with metal so this is a plastic bowl over a glass measuring cup and I used plastic or wood utensils.
The jar on the right is where the original Kefir was. The measuring cup in the back has the drinkable (after the 1st batch) Kefir. The jar on the left is the Kefir grains I strained out plus half the strained content plus an equal amount of warmed milk. Then the lid with the plastic wrap (because the lid is metal) goes back on the jar and 24 hours I do the same thing.
i.e. kefir jar + 24 hours then strain out grains. Add grains back to the jar plus half the strained Kefir liquid plus an equal amount warm milk.
The first batch from newly gained Kefir grains is not drinkable. Throw out the half you didn't put back in the jar. The second batch is drinkable.

I used in my cereal a bunch of mornings and in a yummy green fruit smoothie and on top of my eggless tahini french toast stuffed with strawberries and cream cheese.

Wednesday, April 20, 2011

Halise (Semolina cake with syrup)


This is another recipe we made during the cooking day in Illinois. My mom's birthday was Sunday and we made the Lebanese food that my mom had missed out on. I made pita bread, hummus, halise and as a family we made hushwey and salata (salad).
Although this dessert recipe I'm posting was very good when we made it in IL, I decided to try to make it healthier and see if it could still taste good with less sugar/calories. The recipe is supposed to be made with blanched almonds, but in the interest of time, mine are whole almonds.

There are many names for this type of dessert including Harese, Hareesa, Namoura, Sfouf, and Basbousa. I could not find this exact recipe anywhere on the internet. Most of the recipes have yogurt and baking soda and many have eggs.


Halise

Semolina cake with syrup

4 Cups Milk
1 1/2 Cups Sugar
2 Cups Cream of Wheat
1 Cup Butter
Blanched almonds
For Syrup:
1 Cup Sugar
1 Cup Water
1 Capful Lemon juice
1 Capful Orange Blossom Water


1.Preheat oven to 350 degrees and grease a 9x13 baking pan.

2.In a medium sized pot add milk, sugar, cream of wheat and butter and cook on medium until cream of wheat is very stiff.

3.Spoon stiff cream of wheat into greased 9x13 pan, smooth top, then cut into 1"x1" diamonds or triangles.

4.Add one blanched almond to each triangle then bake in preheated oven for 50 to 90 minutes or until edges start to brown.

5.Meanwhile prepare syrup by adding sugar and water to small pot and cooking for 20 minutes on low stirring occasionally.
Then add lemon juice and orange blossom water and cook 5 additional minutes.
Refrigerate until cooled.

6.When edges of Halise are golden, remove pan from oven, re-cut same lines of triangles, then pour COLD syrup over top HOT Halise and enjoy.


Healthy Halise
(this recipe was also halved)

2 Cups milk
slightly less than 1/4 C honey
1 C whole wheat cream of wheat
1 Tbsp Coconut oil
1 Tbsp Butter
1 Tbsp Canola oil
almonds

For Syrup:
1/2 C water
just over 1/4 C sugar
1 Tbsp honey
1/2 capful lemon juice
1/2 cap rose syrup (grenadine)
1/2 capful orange liquor

Directions are the same except use an 8X8 sized pan.

In Pictures


Combine said ingredients into a pot and start stirring.
  Getting thicker
Should be stiff as below.
 Smooth down into greased pan.
 Cut into shapes and add almonds to top.
 Bake (Mine baked for about 50 minutes), then pour syrup over top.
 Eat!

Thursday, April 14, 2011

Hushwey


This is an old family recipe passed down through generations from my Grandma Bobbi's Lebanese family. It's one of the recipes my aunt Lisa and I cooked on our cooking day while I was in Illinois for the Red Shoe Run. Grandma Bobbi and, of course, lots of cousins helped too. The recipe is really simple and really good. If you've never tried this combination of spices in a meat dish you'll most likely be pleasantly surprised by how good it is. We ate this dish with Salata (similar to a greek salad), Stuffed Grape Leaves, Pita Bread, and Halise (ha-lease, a dessert made with cream of wheat).

Hushwey (hush-we)

1 Tablespoon canola oil or butter
1/2 Cup pine nuts
1 Pound ground beef, lean (or lamb)
1 Tablespoon salt
1 teaspoon allspice
1/2 teaspoon cinnamon
1/2 teaspoon pepper
2 Cups rice (dry)
2 Cups chicken broth
2 Cups water
lemon juice, optional

1.    In a large pan, saute pine nuts in butter or oil on medium-high stirring frequently until toasted and fragrant. Remove nuts and set aside.
2.    Add meat to the pan. Brown, drain fat, then mix in spices.
3.    Next add rice, pine nuts, water, and broth (can use all broth or combination of broth/water).
4.    Bring liquid to a slight boil; then reduce heat to low, cover, and cook until rice is done and liquid absorbed (20-25 minutes).
5. Fluff with a fork and, when plated, optionally add a light squeeze of lemon juice over top.

In Pictures

Toast the pine nuts.
 Brown the meat, drain then add the spices.
Add rice, broth, pine nuts, and water.
 After simmering, all the liquid should be absorbed.
 You know how I love my vegetables. I ate this serving with a salad, crisp tender sweet peppers, and cooked garlic broccoli.

This dish makes the house smell so good.

Wednesday, April 13, 2011

Incredible Hummus

Best hummus I've ever had in my life, no joke, seriously yummy and slightly addicting. Try it!


Hummus

1-2 cloves garlic (depending on how much you like garlic)
2 tsps plus 1 tsp of olive oil
1/3-1/2 tsp salt
1/8 tsp paprika
pinch of ground pepper
juice of half a lemon
2 Tbsp tahini (sesame paste)
1/8 Cup fresh parsley
1 15 oz can chickpeas/garbanzo beans, rinsed and drained
1/4 warm water
1/2 tsp soy sauce

1. Smash garlic cloves, coarsely chop, and add to a food processor along with most of the lemon juice, salt, paprika, pepper, tahini, and parsley. Run food processor, slowly adding the 2 tsp of olive while machine is running. Scrape down the sides, as needed, until ingredients form a minced paste.

2. Add chickpeas  to processor then slowly add the last tsp of olive oil, last of the lemon juice, the water, and the soy sauce while machine is running.

3. After processing for at least 2 minutes, check consistency of hummus and process longer and/or add more water if too thick or dry. Also taste test for salt, paprika, and parsley content.

*Serve with minced parsley, sprinkled paprika, and a drizzle of olive oil over top.
 Dip vegetables, pita bread, crackers in it or use it as a base for sandwiches. Alsoo good on a sandwich with cucumbers, sprouts, cheese, etc.
In Pictures
Minced paste of garlic, tahini, lemon juice, some olive oil, salt,  parsley and paprika.
 After it's been thoroughly processed.
I decided to try this hummus again after going to Illinois this past week for the Red Shoe Run my grandparents started. My aunt Lisa and I had a cooking night and made some old Lebanese family recipes. We picked up some hummus, baba ganoush, pita bread, and falafel from a local Middle Eastern restaurant for our appetizer. The hummus was so good, I had to try it again at home.
     In the past I've had a problem with the garlic being too powerful and chunky and the consistency of the hummus giving one dry mouth. I read up on some recipes, tips, and techniques and here's what I came up with. By adding the garlic and a few other ingredients in and blending them well before the chickpeas are added, you ensure that each bite tastes the same and you don't get any "whoa garlic" bites. If you don't like a real strong garlic flavor, just do one clove of it for this recipe. Extra lemon juice adds that "zing" on the tongue and paprika leaves that slightly warming sensation in the mouth. The soy sauce add that extra little "wow that's really good" bit.


Friday, February 25, 2011

Chili REAL-Man-Style


I based this recipe off the recipe located HERE. Brett doesn't really like ground turkey and he wanted baked sweet potatoes so I used double ground beef (for the man who always asks and pays for extra meat at Cafe Rio) and baked the potatoes and put the chili over top instead of using the sweet potatoes inside the chili. I have made it the original way and it is quite delicious too.

Chili REAL-Man-Style

2 lbs lean ground beef
 2 medium onions chopped
4-8 cloves garlic chopped
1 28-oz. can diced tomatoes (Muir Glen is best)
2 15-oz. can pinto beans rinsed/drained
1 15-oz. can red kidney beans rinsed/drained
1 15-oz. can  Black Beans rinsed/drained
2 - 2 1/2 cups low sodium chicken broth
2 - 3 tbsp. chili powder (to taste) (if you grind your own I would suggest 1 T if you like it super hot, dang that stuff is potent!)
1/2 - 1 tsp. garlic salt (or 1/2 tsp sea salt and 1 tsp garlic powder)
2 - 3 tsp. cumin (to taste)
1 tsp. oregano flakes
1/2 tsp. thyme
1/4 - 1/2 tsp. basil
1/4 tsp. cinnamon
1 - 2 tsp. Ghirardelli Unsweetened Cocoa Powder (to taste)
2 - 3 tsp. balsamic vinegar (to taste)
salt and pepper to taste
1 Tbps Corn Starch plus 1/8 Cup cold water
1/2 tsp smoked paprika (optional)

Optional Toppings/accompaniments: fresh avocado, sour cream (or greek yogurt), salsa, tortilla chips, corn bread.

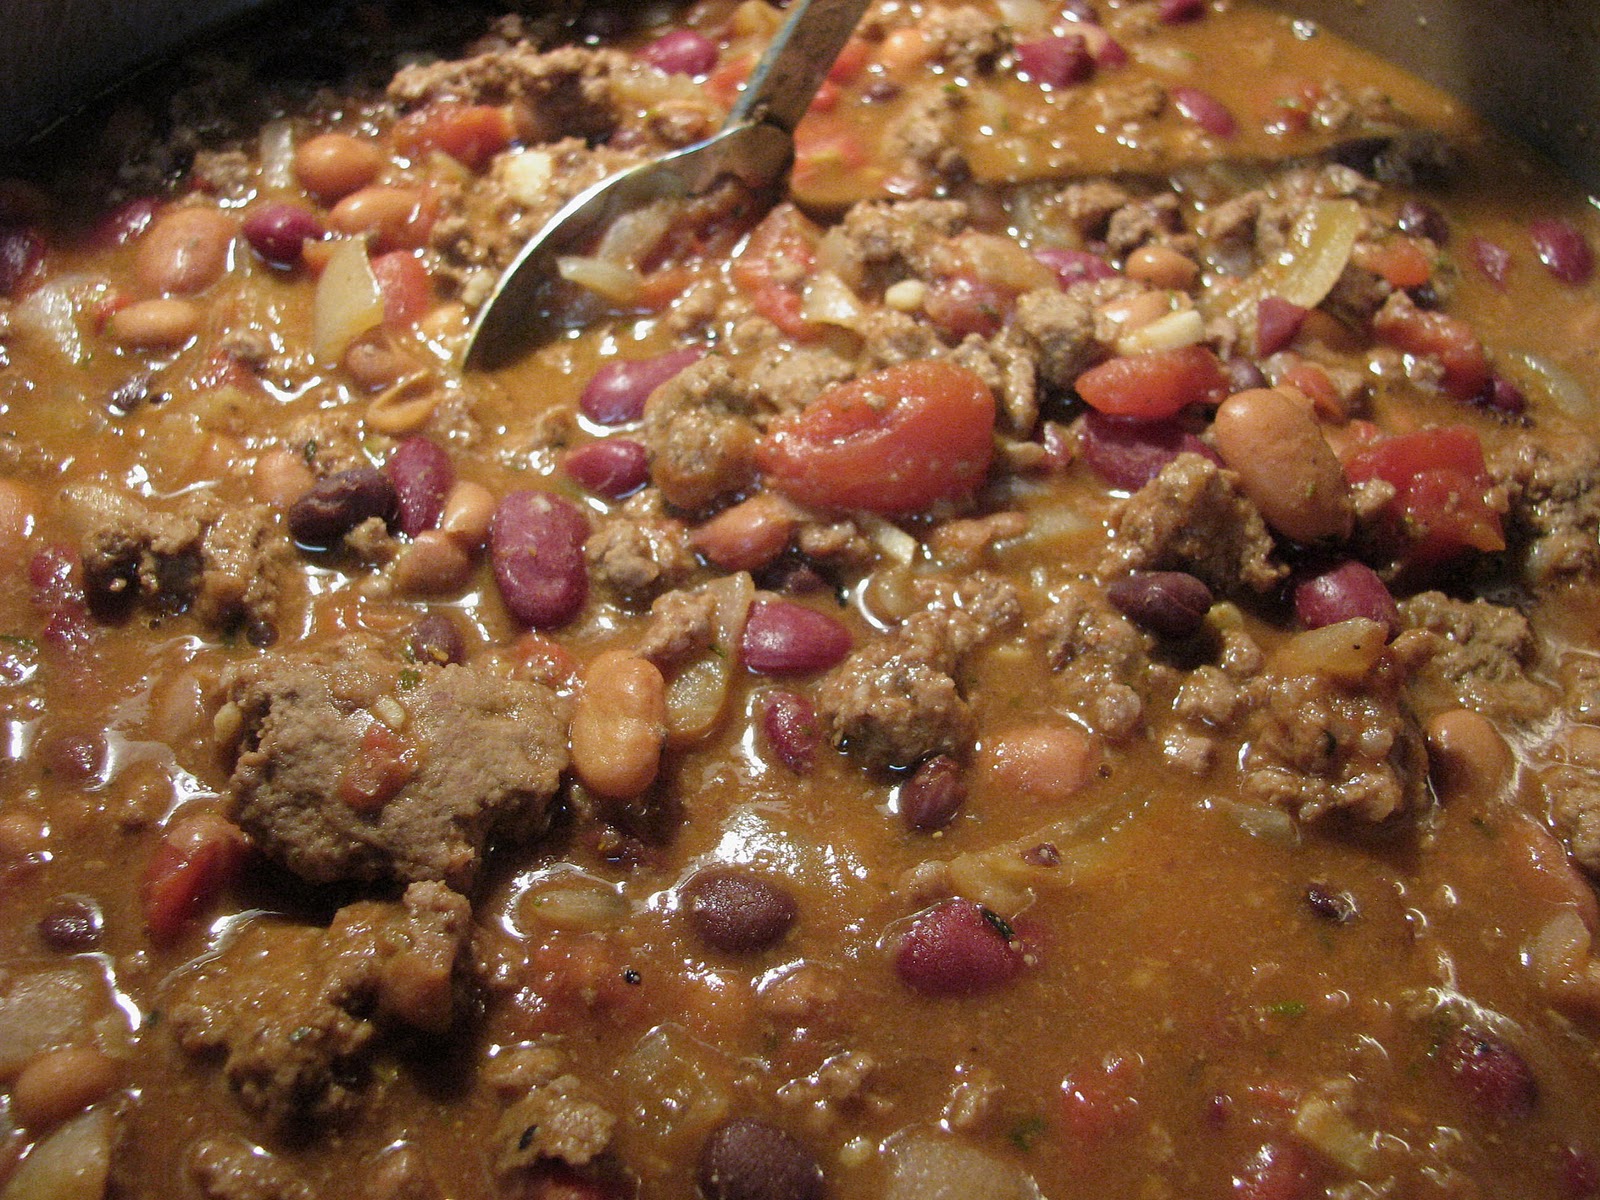
Put ground beef into a large pot and cook over medium-high heat until the beef is almost cooked through then add chopped onions and garlic and cook until onions are slightly softened (maybe another 4-5 minutes).  Drain the excess fat (if necessary) and add the tomatoes, beans, chicken broth, and spices. Stir well. Bring back to a soft boil and then reduce heat and cover. After it has cooked for about 20 minutes and the spices have had a chance to mingle, add the chocolate and balsamic vinegar to taste and continue to cook, covered, over medium-low heat for about 30 - 45 more minutes.

 In Pictures
I cooked the meat with the onions the day before to save time.
 The line up:
 Drain and rinse each can of beans.


Easy Peasy!

Baked Sweet Potatoes (these are really easy)

I used 4 med-large sized yams.

1. Pre-heat oven to 400 degrees. Wash each potato well and then dry off.
2. Poke each potato a bunch of times with a fork (I usually aggressively stab them maybe 8-10 times a potato, good stress reliever!)
3. Wrap each  potato WELL in aluminum foil. These tend to leak their juices so I would also suggest lining the bottom of your oven with a large piece or two of foil or if you're fancy and have one of those silicon mats, that would work too.
4. Bake for about 45 minutes for a medium sized potato or up to 90 minutes for a gargantuan sized one. Just make sure they are nice and soft and cooked all the way through.
*If you happen to take one out too early they are really easy to finish up in the microwave. Just TAKE THE FOIL OFF and cook them for a few minutes at a time until completely softened. And just FYI,  sweet potatoes tend to get softer than regular white potatoes.

 Clean them well


 Wrap them well and bake.
 After baking simply pour some chili over the top and perhaps add some sour cream or yogurt and the sort.